These are the basic steps to creating a configurable product. If you have followed along and created an attribute and attribute set as explained earlier in the manual, you can use these to create your configurable product. To begin, navigate to “Catalog”>”Manage Products” as shown below.


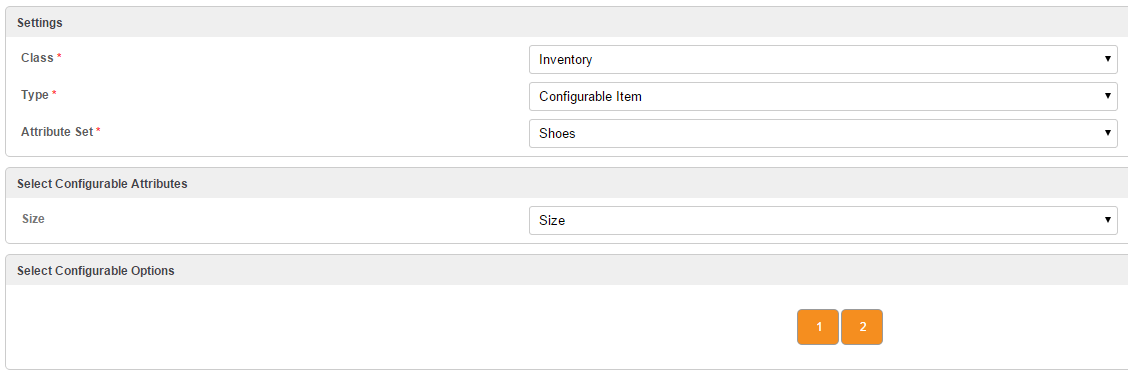
As you can see, our sizes “1” and “2” appear on the screen. If the size is highlighted orange that means it is chosen to appear and manage stock. If you don’t want a particular size, simply click the variant and it will turn to a grey color. From here, once you have selected the variables that you want, click “Continue”. To complete the product, fill in any required information in the same way we did for our Simple Product. Once you do this and click “Save”, the configurable product will be created and will automatically generate the products related to the attribute you selected.
Things to Note
Things to Note
· Simple Variants are assigned SKUs automatically but you can change these in the Configurable item’s “Alternate IDs” tab as shown below. You can also enter manufacturer UPCs on this screen for all simple variants as well.

- We automatically add the variant attribute options to the simple variant product description. So Nike Polo becomes Nike Polo-Small-Red and so forth.
- If your variants have different prices be sure to change the store price and web price for the simple variants.
- By default the simple variant products are set to Not Visible Individually - this setting is in the configurable product settings tab. It eliminates the many variants from the manage product list and only presents the single configurable parent. If this is not easier for you simply change the setting in the product record and the simple variants will become visible.

- Even when they are not visible the simple variants can be edited individually from the “Associated Items” (as shown above) tab you can change the cost and price and then use Save and Continue and Back to Parent buttons to jump back to the Configurable Item.
