Receipt Set Up
MicroBiz allows you to create different printed receipt formats and customize each one for your requirements and tastes. Here are some general customize your receipt
- The format will expand and shrink if you are using a 2", 3" or 4" receipt. It will also expand to fill an 8.5 x 11 full sheet page on a laser printer.
- Max Logo size is 200 x 50 pixels. Anything smaller or larger will be scaled. Best image quality is obtained with a 200x50 logo. png, jpg, gif and bmp are supported.
The Receipt Template is broken into multiple sections as shown below:
Section One: Store Information

- Receipt Title - Title or label that is printed on the receipt
- Show Logo - You have the ability to print the logo entered in the Company record on the receipt. The logo will be adjusted to 200 x 50 pixels so 200 x 50 will give you the best results. png, jpg, gif,bmp files will work. The logo will appear in B/W and the quality will depend on the quality of the logo file and the printer
- Logo Position - You can configure the logo to appear at the top of the receipt or the bottom of the receipt
- Show Store Name - Whether store name line is printed at top of address section. You may wish to omit this if the store name appears as part of your logo image
- Show Store Address - Whether the store address appears. You may want to exclude due to space constraints.
Address - Use this field to enter the store address to be printed on the receipt. This allows you to enter a shorter address than you would use on other printed documents.
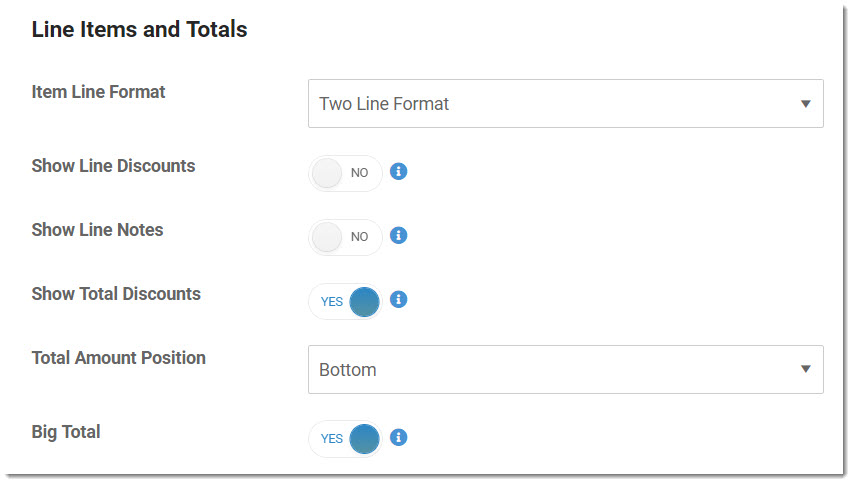
Item Line Format - Determines if the item/price is shown on one line or two
Show Line Discounts - Determines whether discount is shown in line detail
Show Line Notes - Whether line notes print on receipt beneath item
Show Total Discount - Whether to show the sum of all line discounts, transaction discounts and promotions on the receipt
- Total Amount Position - Determines where the Total is displayed. Options are at the top or bottom of the receipt. Totals include all General Discounts and Promotional Discounts.
- Big Total - The total amount for the transaction can be printed the same size as the receipt font or made bigger
Section Three: Payment and Transaction Data
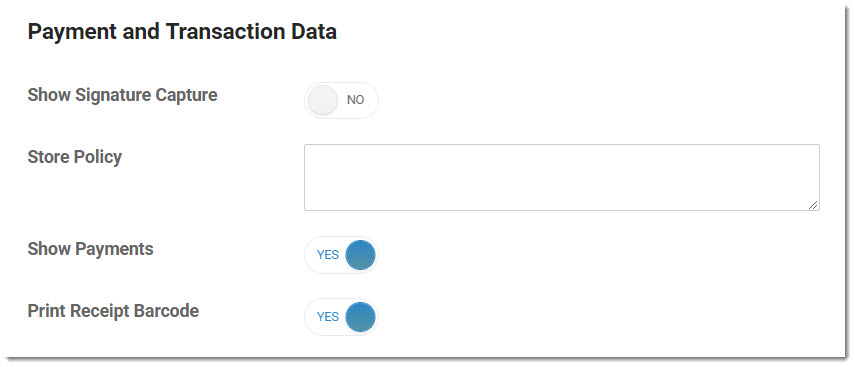
- Show Signature Capture - Determines whether the signature captures by an integrated payment terminal is printed on the receipt.
Store Policy - Allows your to enter a standard Store Policy that is printed on each receipt, such as 'All returns must be accompanied by Receipt'
Show Payments - Determines whether the payments tendered are printed on the receipt
Print Receipt Barcode - Determines whether a barcode with the transaction/receipt number is printed on the receipt. This barcode will enable a clerk to quickly recall the transaction in the future by scanning the barcode from the register. Helpful for returns and exchanges.
Section Four: Customer Data
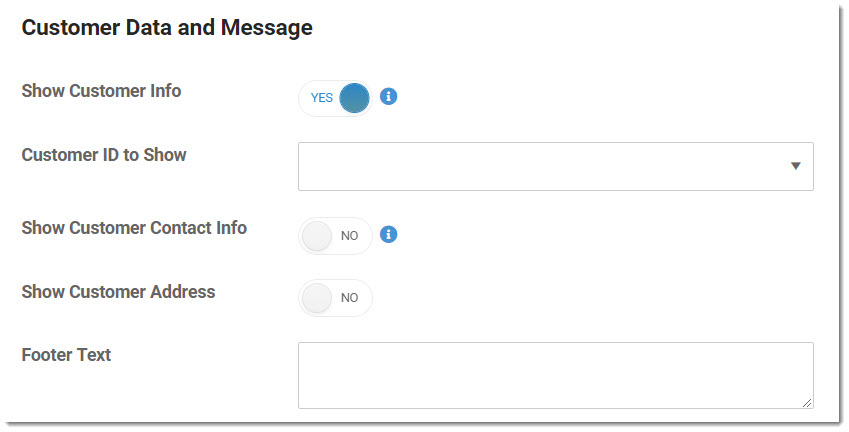
- Show Customer Info - Prints customer name and selected ID on receipt
- Customer ID to Show - Allows you to select which type of customer IDs will display on the receipt
Show Customer Contact Info - Prints customer phone and email address in customer section of receipt
Show Customer Address - Prints customer address in customer section of receipt
Footer Text - Allows you to show anything you want on the printed receipt, such as 'Thanks for your Business'
Next Step: Sales Tax Set-up >>